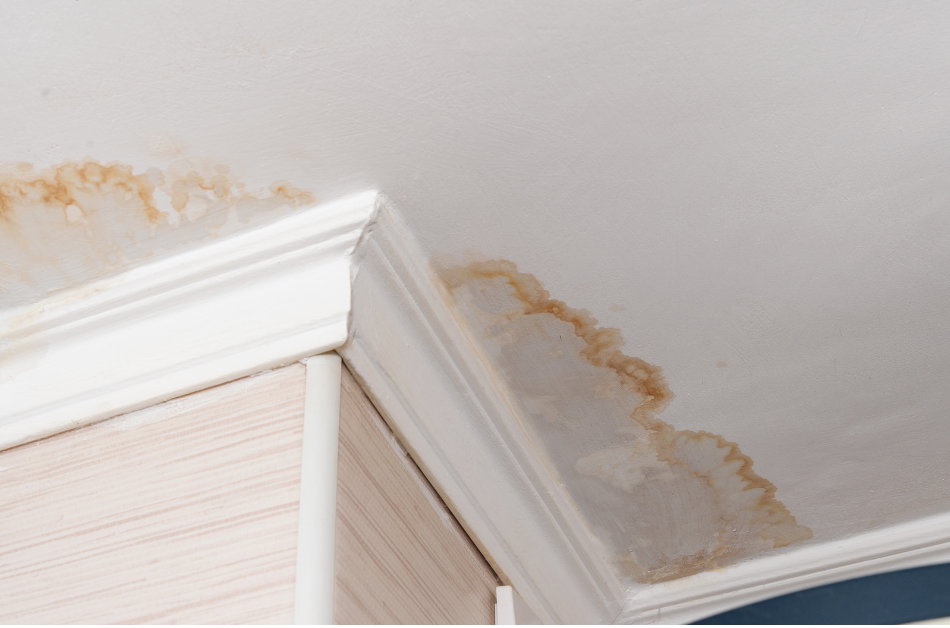
Notice some water stains or discoloration on your ceiling? The worst is after a few days— a sagging ceiling! These are only several ways how water can damage the ceilings on your property.
Water damage in ceiling normally occurs because of roof leaks or burst pipes. If you are staying in a two or a multiple-story property, water damage can reach the bottom floor via the ceiling when the above floor gets flooded whatever the cause is.
As soon as water damage in ceiling happens, act right away and never ignore it. Find the source of the leak and make any repairs immediately. Furthermore, hiring a reliable water damage restoration company can be of big help if ever water damage in ceiling happens on your property!
Ceiling Water Damage: Recognize the Signs
It is usually not that hard to know and identify the signs of water damage in the ceiling. Once it reaches a particular stage, the signs can really be obvious and apparent. However, it is still a good idea to learn all the signs.
- Discolored blotches- You will notice some discoloration on the ceiling such as yellow, green, copper, or brownish blotches. These blotches can spread and grow in layers as the water spreads.
- Separation of wallpaper and trims from the ceiling- Water damage can cause flaking and peeling of your ceiling’s wallpaper or paint. In addition, even the baseboards and trim separate from the wall or ceiling, too.
- Sweating and sagging- You may sometimes see beads of water along the drywall ceiling. And even the tiniest amount of water may spread to the ceiling and lead to sagging and swollen ceilings, walls, and door casings.
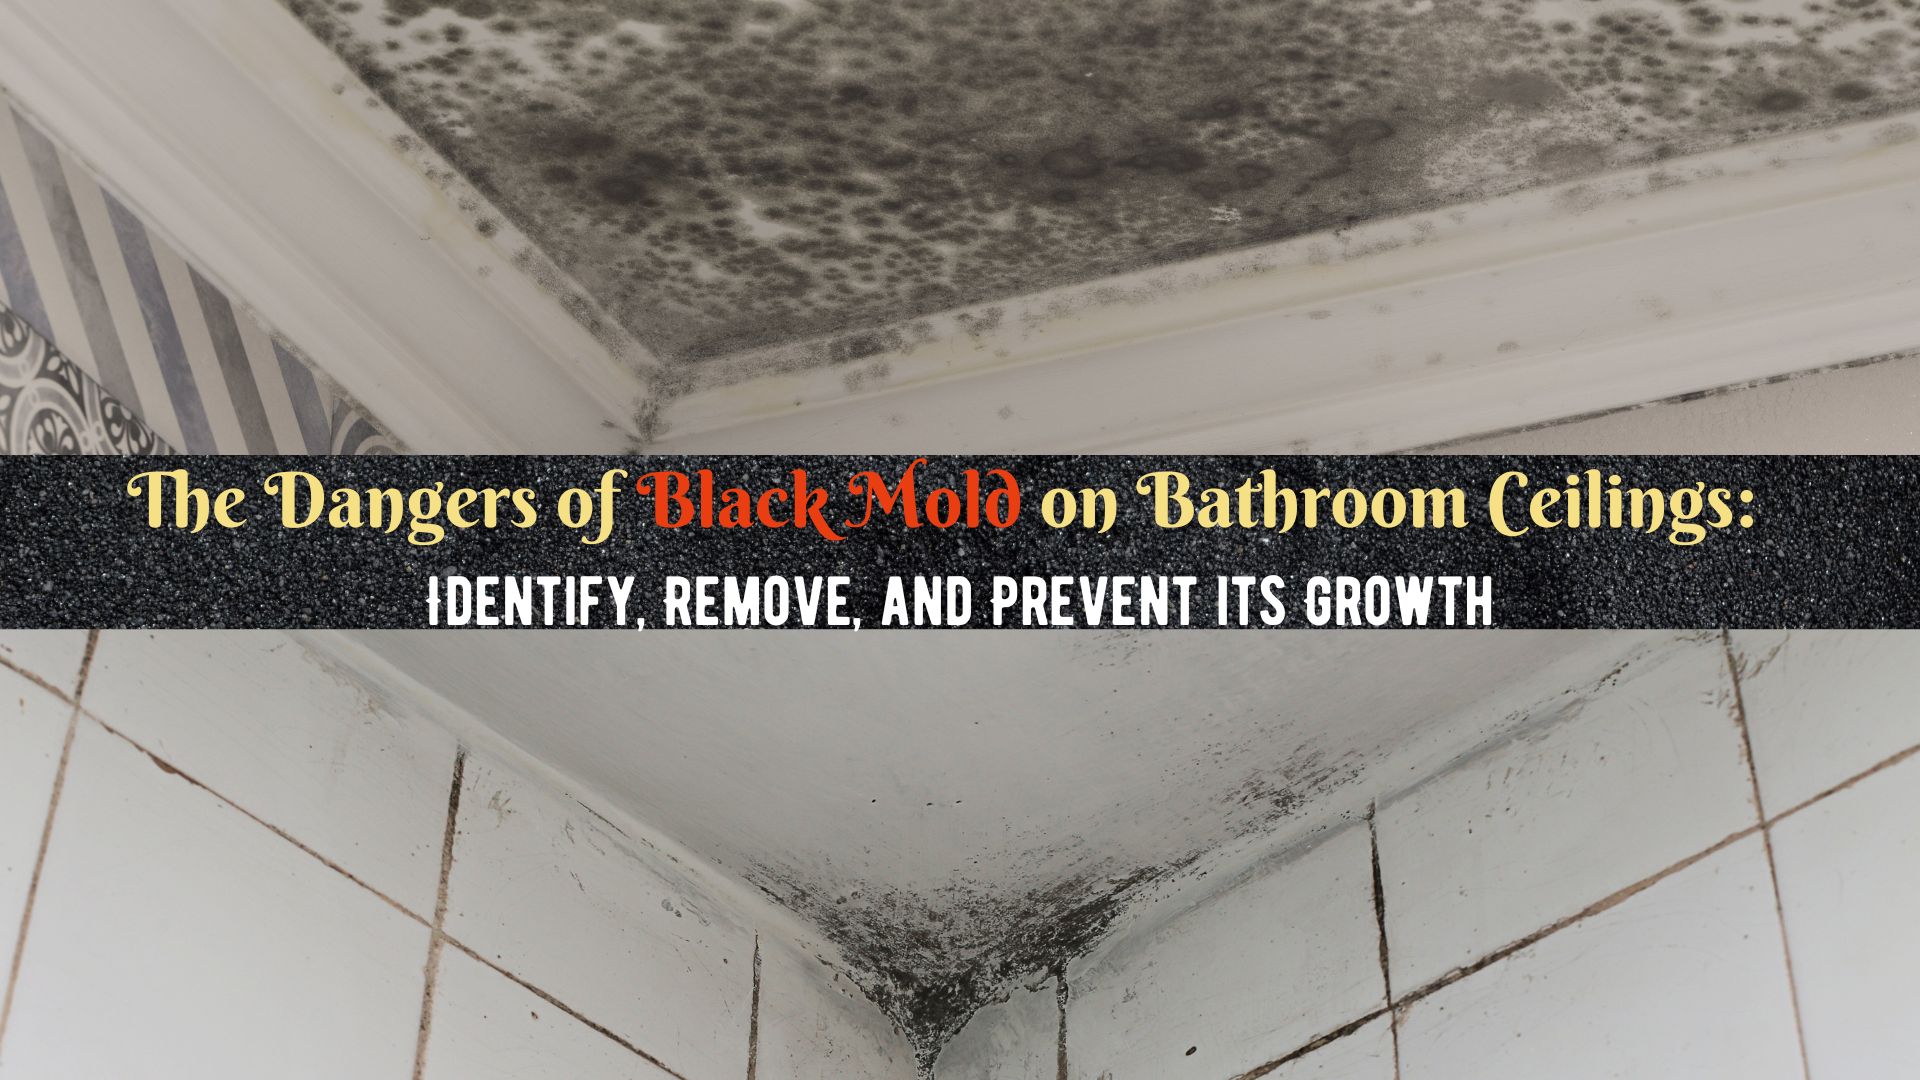
- Moldy stains and blotches- Overtime, ceiling leaks, and excess moisture can lead to mold growth. You may usually see black, brown, or greenish blotches on the ceiling. It is necessary to control mold right away to prevent further issues.
Safety First: Check Your Ceiling
Before you begin any cleanup or repairs, be sure to turn off the power supply especially if the water is near any electrical wiring. This is to prevent electric shock. And as much as possible, avoid standing under a ceiling, since the ceiling may hold too much water and this might cave in on you.
Water Damaged Ceiling: How to Repair?
Repairing a water-damaged ceiling is not an easy home improvement task. Learn the following steps on how to fix a ceiling with water damage.
Step 1
Assess and know the extent of the water damage.
Step 2
If there’s excess water trapped inside your home’s ceiling, reduce it by slowly poking tiny holes through it. You can use an ice pick, a screwdriver, a nail, or a knife. Be extra careful when you do this so as not to flood the room with rushing water. Use a bucket instead, and put it under the hole to collect water.
Step 3
Try to check the water source and the affected areas or parts of water damage in ceiling. Once the issue has been identified, repair it if necessary.
If the damage is due to a leaky roof, try to fix it immediately if the weather permits. You can repair and remove damaged shingles from your roof by yourself or contact a roof repair expert.
If the weather is bad, temporarily cover the roof with waterproof sheeting (or a canvas) just to prevent water from entering the hole.
Contact a professional plumber if the cause of water damage in ceiling is a burst pipe.
Step 4
Before cleanup, protect the floor and your furniture by spreading a tarp. Try to remove all ceiling materials that are wet like the sheetrock and insulation. Get rid of all the peeling plaster or drywall, as well as the loose ones.
Prevent mold from developing by drying out the ceiling as quickly as possible to lower the risk of damage. You can use dehumidifiers and fans for drying the ceiling and other materials such as wood joists. If there is any salvageable stuff, they should be dried, too.
Step 5
For eliminating molds, prepare a mold-killing solution and spray the affected areas and sections of the ceiling.
Step 6
If water damage in the ceiling is a minor issue, just use drywall or plaster mud to repair little cracks and gaps. You can also fill those small holes with joint compounds.
Use a utility or a putty knife to fill the cracks or the gaps that are less than half an inch wide. Then leave and smooth finish. However, for wider gaps, after filling them in first, sand them smoothly, too.
Step 7
For major water damage in the ceiling, just cut the sections of the ceiling. Use a saw or a box cutter that is designed for drywall and try to make straight cuts.
Step 8
Cut a piece of drywall, particularly the new one. Measure the hole, since it should be smaller than the hole. Then screw the newly cut drywall piece into the ceiling joists.
To seal the gaps and cover the joints, apply some mud, and cover the drywall with mesh tape. Smooth out the ceiling.
Step 9
Once dried, sand the area for a smoother finish. Then proceed to prime and paint.
Step 10.
Apply a sealing primer, at least two coats to prevent the stain from showing through. And for a uniform finish, paint the whole ceiling with any color of your choice.
Professional Water Damage Restoration Services
Experiencing water damage in the ceiling? At Superior Restoration, professionals are highly trained to help you with water damage issues, especially in emergency situations. Please call Water Damage Corona and we will gladly assist you 24 hours a day, 7 days a week.