If you have had a water incident in your kitchen, be prepared to deal with water damaged kitchen cabinets. Over time, water can seep into your cabinet and cause damage to its outer shell, destroying your cabinet’s finishing and blackening the wood. Not only that, a water leak can cause structural damage, which can compromise the usefulness and durability of your cabinet. With this in mind, it is important to act fast and the key to repairing water-damaged kitchen cabinets is to remove the water and dry the materials thoroughly.
Keep reading to learn the steps on how to repair water damaged kitchen cabinets.
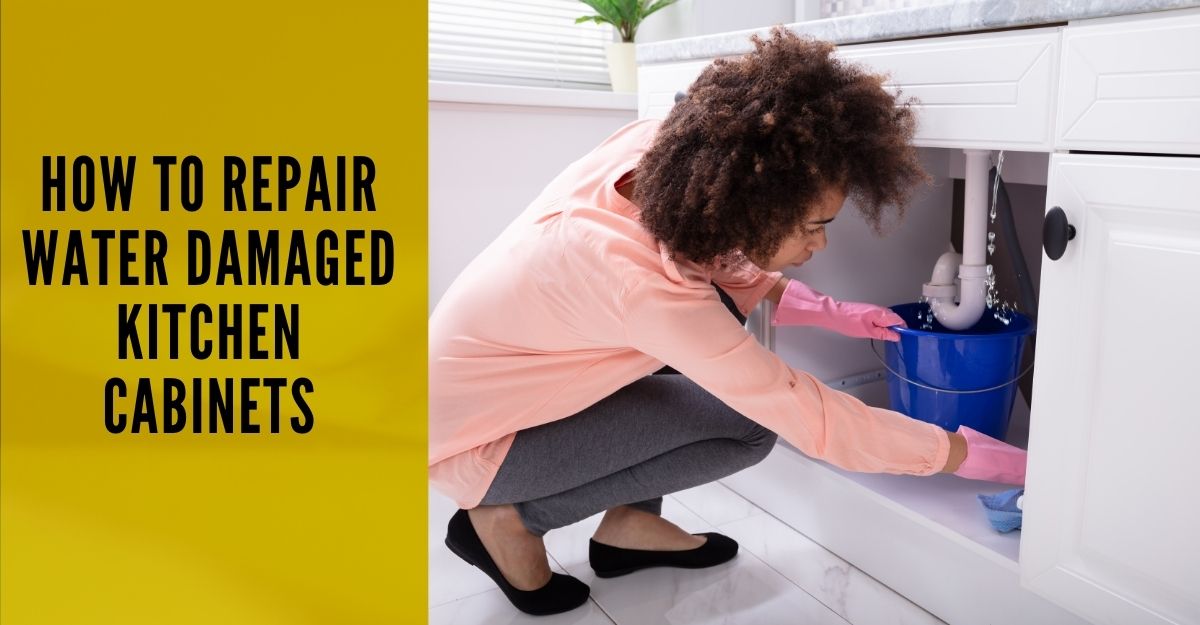
Water Damaged Kitchen Cabinets
What To Do Before Drying Your Wet Cabinets
Before you start repairing your water damaged kitchen cabinets, you should first find and fix the source of the problem. Otherwise, you may just be wasting your time and making the problem occur again in the future.
Usually, water damage in your kitchen cabinets happens mostly because of a broken or damaged plumbing system. To find and fix the problem, you have to first shut off the main water valve. Then, clean the area the best way you can so you can find the main culprit of the damage. Once you find the problem, do the necessary repairs immediately.
How To Repair Water Damaged Kitchen Cabinets
Usually, kitchen cabinets are made of particleboard. This material is very vulnerable to water damage even a small amount of water can cause it to swell, split, and even fall apart. Yet, there are some ways to repair them. Follow these steps to repair water-damaged particle board cabinets.
Step 1: Empty your cabinets
Take out all the items inside your cabinets. Check the items that can be salvaged and throw away what needs to be discarded.
Step 2: Remove excess water
You should remove any excess water inside the cabinet to prevent it from seeping further and causing more damage. You can use towels or thick clothes to soak any remaining water. Do it until the area is dry to the touch.
Step 3: Remove the cabinet doors
removing the cabinet doors will allow the inside of your cabinet to dry faster and avoid further damage. The cabinet doors can put pressure on your water-damaged particle boards which can cause them to sag or even crumble. Place the door cabinets in a safe area, lay them flat, and allow them to dry completely.
Step 4: Dry the cabinets
When drying your water-damaged cabinets, it is important to be quick, otherwise, they may become irreparable. Though household fans can work well in drying your wet cabinet, they may take longer. Thus, it is best to use high-volume fans and commercial dehumidifiers.
Place the dehumidifier at the center of the kitchen and the fans facing the cabinet. Check the cabinets occasionally and reposition the fans to ensure that all areas, including behind and underneath the cabinets, are dry.
Step 5: Repair the damage
Once the cabinets are completely dry, evaluate the damage, and do the repairs. It is also a good idea to have the carpenter’s glue, clamps, and screws on hand.
Depending on the severity of the damage, you may be able to repair your water damaged kitchen cabinets. Start fixing the delaminated particle board cabinets by spreading the glue between the layers of the board. Then, press them back together using a clamp. For warped or swollen cabinets, grab 2×4 boards, use them as braces, and screw them to the cabinet to straighten them.
On the other hand, some cases of water damage can cause your cabinets to crumble and become irreparable. In that case, you have to remove the damaged cabinets and replace them.
Step 6: Remove the water stains
After repairing the damage, you will most likely deal with the water stains on the cabinet. To remove them, first, you have to sand off the cabinet. After that, wipe down your cabinet using an oxalic acid solution. Allow the cabinet to dry.
Once the stains are gone, apply a solution of baking soda to the cabinets in order to neutralize the acid. Finally, rinse your cabinets with clean water and dry them completely.
Step 7: Disinfect your cabinets with bleach
Even after cleaning and drying your cabinets, there is a potential for mold growth. To prevent this from happening, wipe down your cabinets with a bleach solution. Applying bleach will also help deodorize your cabinets.
Step 8: Refinish your water damaged kitchen cabinets
To properly restore your cabinets, refinish the materials. To begin, lightly sand the wood until the existing finish is completely removed. Remove the dust and other debris with a damp rag. Allow it to dry. Apply a veneer or any sealant that can protect the wood from water. Then, finish it off with your topcoat. For the best results, follow the instructions on the label.
Mold Growing On Water Damaged Kitchen Cabinets
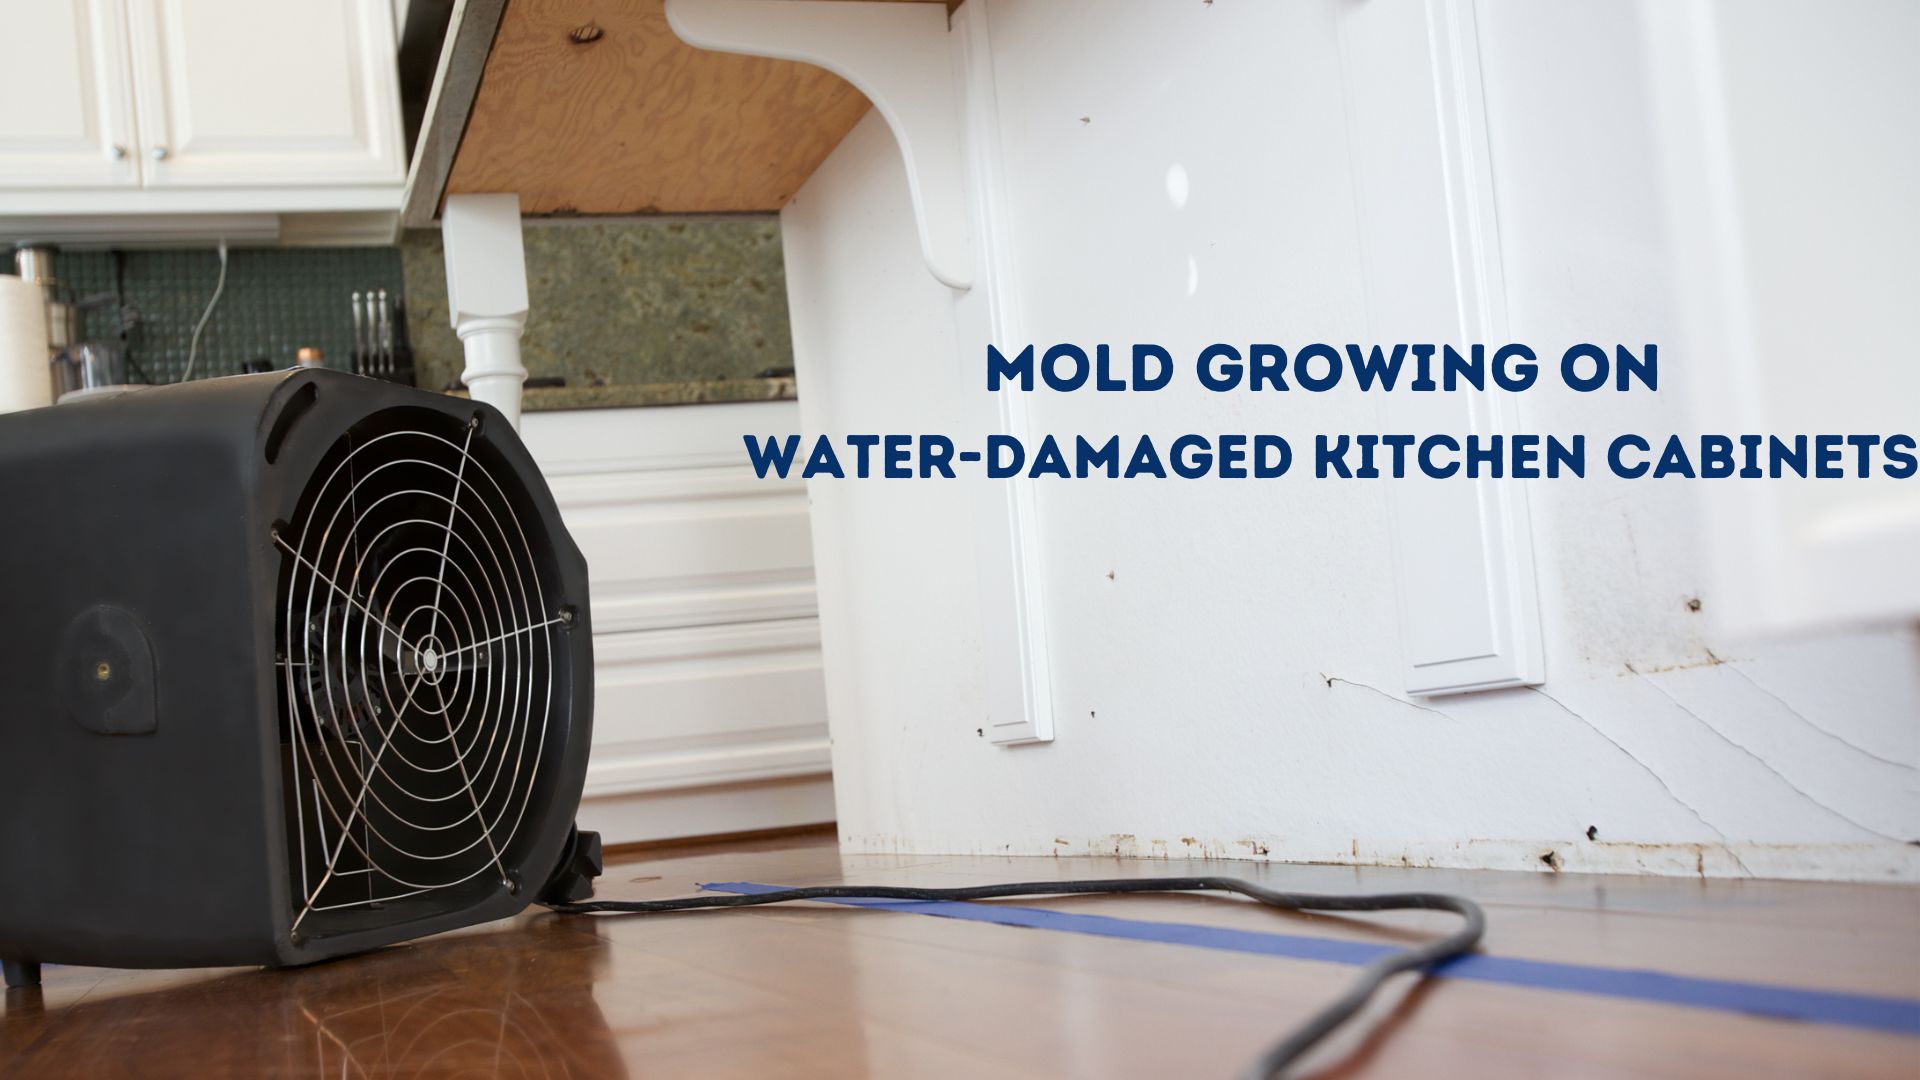 Aside from structural damage, water damage to your kitchen cabinets can cause mold growth. Mold begins to thrive where there is moisture and your wet kitchen cabinets can provide that condition. It can grow inside your kitchen cabinets, as well as underneath and behind the cabinets and cupboards. Thus, it is necessary to dry your cabinets as quickly as you can to prevent mold from growing on your kitchen cabinets.
Dealing With Water Damaged Kitchen Cabinets? Call the Pros!
If the water damage on your kitchen cabinets is so severe, it is best to hire a professional restoration company, like Superior Restoration. Our team of professionals is skilled and equipped with advanced tools and methods to ensure that your cabinets are back to their original condition and free of mold.
In case you need help repairing your water damaged kitchen cabinets, don’t hesitate to contact us. Our local office, Water Damage Corona, is available 24/7.